The question 'Do iPads have SIM cards?' often arises among those considering the purchase of an iPad, especially for those who need connectivity on the go. While many are familiar with SIM cards in smartphones, their application in iPads is less understood. This guide aims to demystify the various aspects of SIM cards in iPads, from their necessity and functionality to everything in between.
Understanding how SIM cards work in different iPad models can significantly impact your usage and connectivity. It can affect not only your internet access but also your overall experience with the device. This article covers everything you need to know about SIM cards in iPads, providing detailed insights that help you make the best decision for your needs.

iPads come in various models and configurations, each designed to cater to specific user needs. Apple offers several versions of the iPad, including the iPad Pro, iPad Air, iPad Mini, and the standard iPad. Each of these models has variations that may include WiFi-only and cellular versions.
WiFi-only iPads connect to the internet solely through WiFi networks. On the other hand, cellular iPads come equipped with the ability to use a SIM card, allowing them to connect to the internet using mobile data networks. These cellular models are often more expensive due to the added functionality. Understanding these differences is crucial for making an informed purchase decision.
Knowing your model and its capabilities can significantly affect your experience. Whether for work, travel, or study, the right iPad model can provide the versatility and functionality you require.
The choice between cellular and WiFi-only iPads hinges on your specific needs. WiFi-only models are ideal for users who primarily use their devices in areas with stable WiFi connections, such as home, work, or school. These models are typically more affordable and suffice for basic web browsing, streaming, and app usage.
Cellular iPads, however, are designed for those who need internet access on the go. For instance, professionals who travel frequently, students who move between classes, or anyone who needs reliable connectivity outside of WiFi range can benefit from a cellular model. These iPads use a SIM card or eSIM, offering anywhere access to the internet through mobile data networks.
The added benefit of cellular connectivity ensures that you are not restricted by WiFi availability, providing a seamless experience regardless of your location. The ability to switch between WiFi and cellular data can also act as a backup, ensuring continuous connectivity.
A SIM (Subscriber Identity Module) card is a tiny chip used in cellular devices to store information about the user's mobile network. This includes details such as the user's mobile number, network authorization data, and personal security keys. Essentially, it acts as the identity card for your mobile device, allowing you to connect to a cellular network.
In iPads, a SIM card enables the device to use mobile data for internet access. This can be especially useful for users who need to stay connected while on the move, without relying solely on WiFi connections.
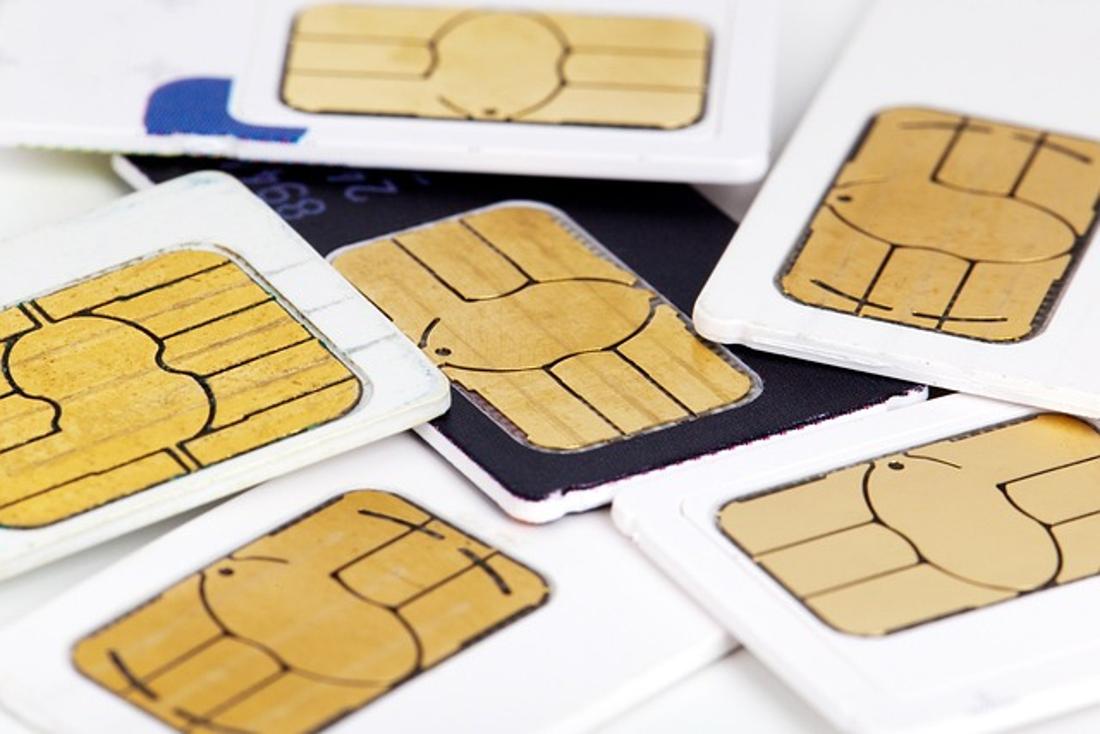
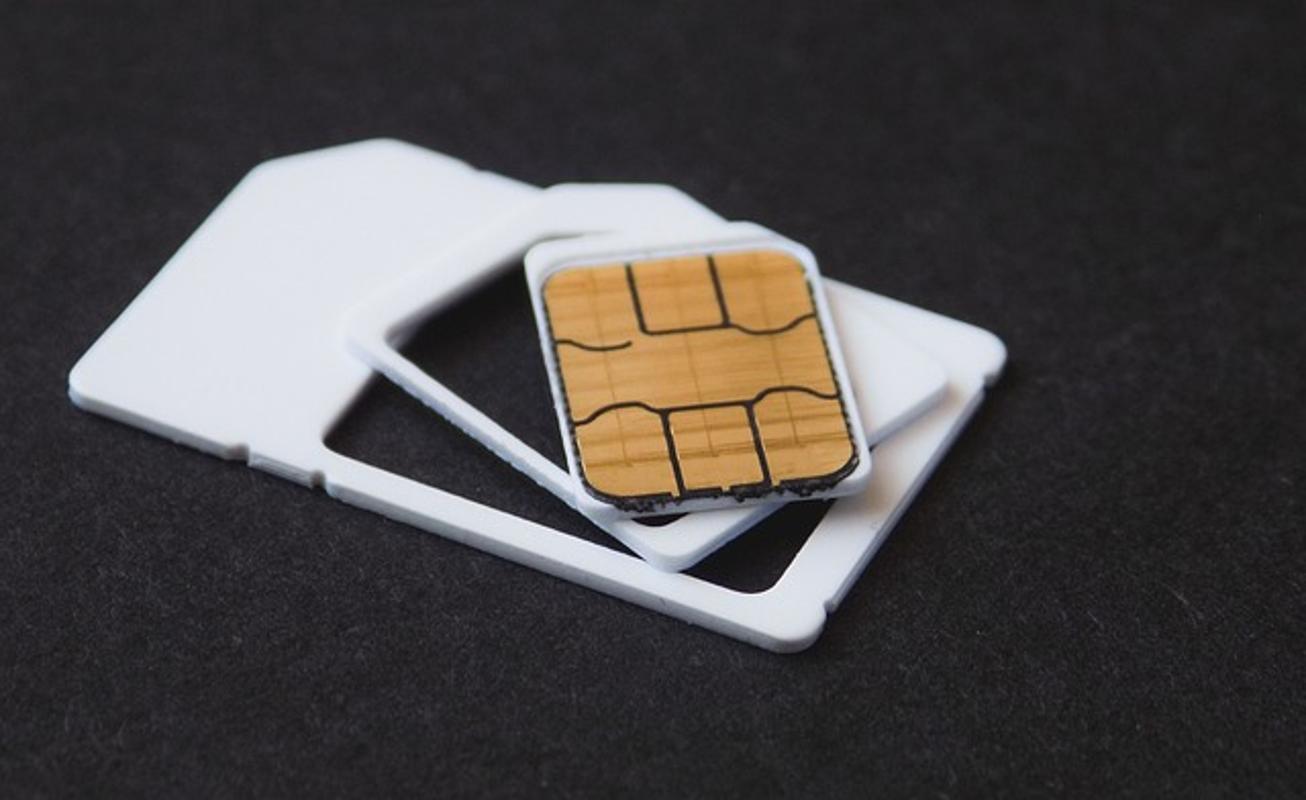
iPads that support cellular connectivity can accommodate various types of SIM cards. Here are the main types:
Understanding the type of SIM card your iPad uses is crucial for selecting the right mobile data plan and ensuring seamless connectivity.
Setting up a SIM card in your iPad is a straightforward process:
By following these steps, you can quickly set up your SIM card and start enjoying mobile data connectivity on your iPad.
Using a SIM card in an iPad offers numerous benefits:
These advantages make SIM cards an invaluable addition to those who require constant, reliable internet connectivity for their iPads.
The introduction of eSIM technology represents a significant leap forward for mobile connectivity. eSIM, or embedded SIM, is a digital version of the traditional physical SIM card. Many of the latest iPad models come equipped with eSIM technology, offering several advantages:
With eSIM technology, managing mobile data plans becomes more streamlined and user-friendly, enhancing the overall user experience.
Choosing the right SIM card involves considering your specific needs and the model of your iPad. Here’s how to make the right choice:
By considering these factors, you can select a SIM card that enhances your iPad’s functionality and ensures seamless internet connectivity.
Security is paramount when using a SIM card in your iPad. Here are some key points to consider:
Following these measures can significantly enhance the security of your SIM card and protect your personal information.
Despite its convenience, using a SIM card in an iPad can sometimes present issues. Here are common problems and solutions:
Addressing these common issues can restore the functionality of your SIM card and ensure uninterrupted connectivity.
In summary, whether iPads have SIM cards depends on the model and configuration you choose. Understanding the distinctions between cellular and WiFi-only models, the types of SIM cards (including eSIM), and the setup process can greatly enhance your iPad experience. The benefits of using a SIM card in iPads are significant, offering enhanced connectivity, versatility, and convenience, especially for users on the go.
No, not all iPads come with a SIM card slot. Only the cellular versions of iPads have a SIM card slot, enabling them to connect to mobile data networks. WiFi-only models do not support this functionality.
You can use any Nano SIM or eSIM that is compatible with your iPad model. Ensure the SIM card is from a carrier that supports the iPad and offers plans that suit your data needs.
To activate an eSIM on your iPad, go to Settings > Cellular Data > Add Cellular Plan. You can scan the QR code provided by your carrier or enter the details manually. Follow the onscreen instructions to complete the activation.